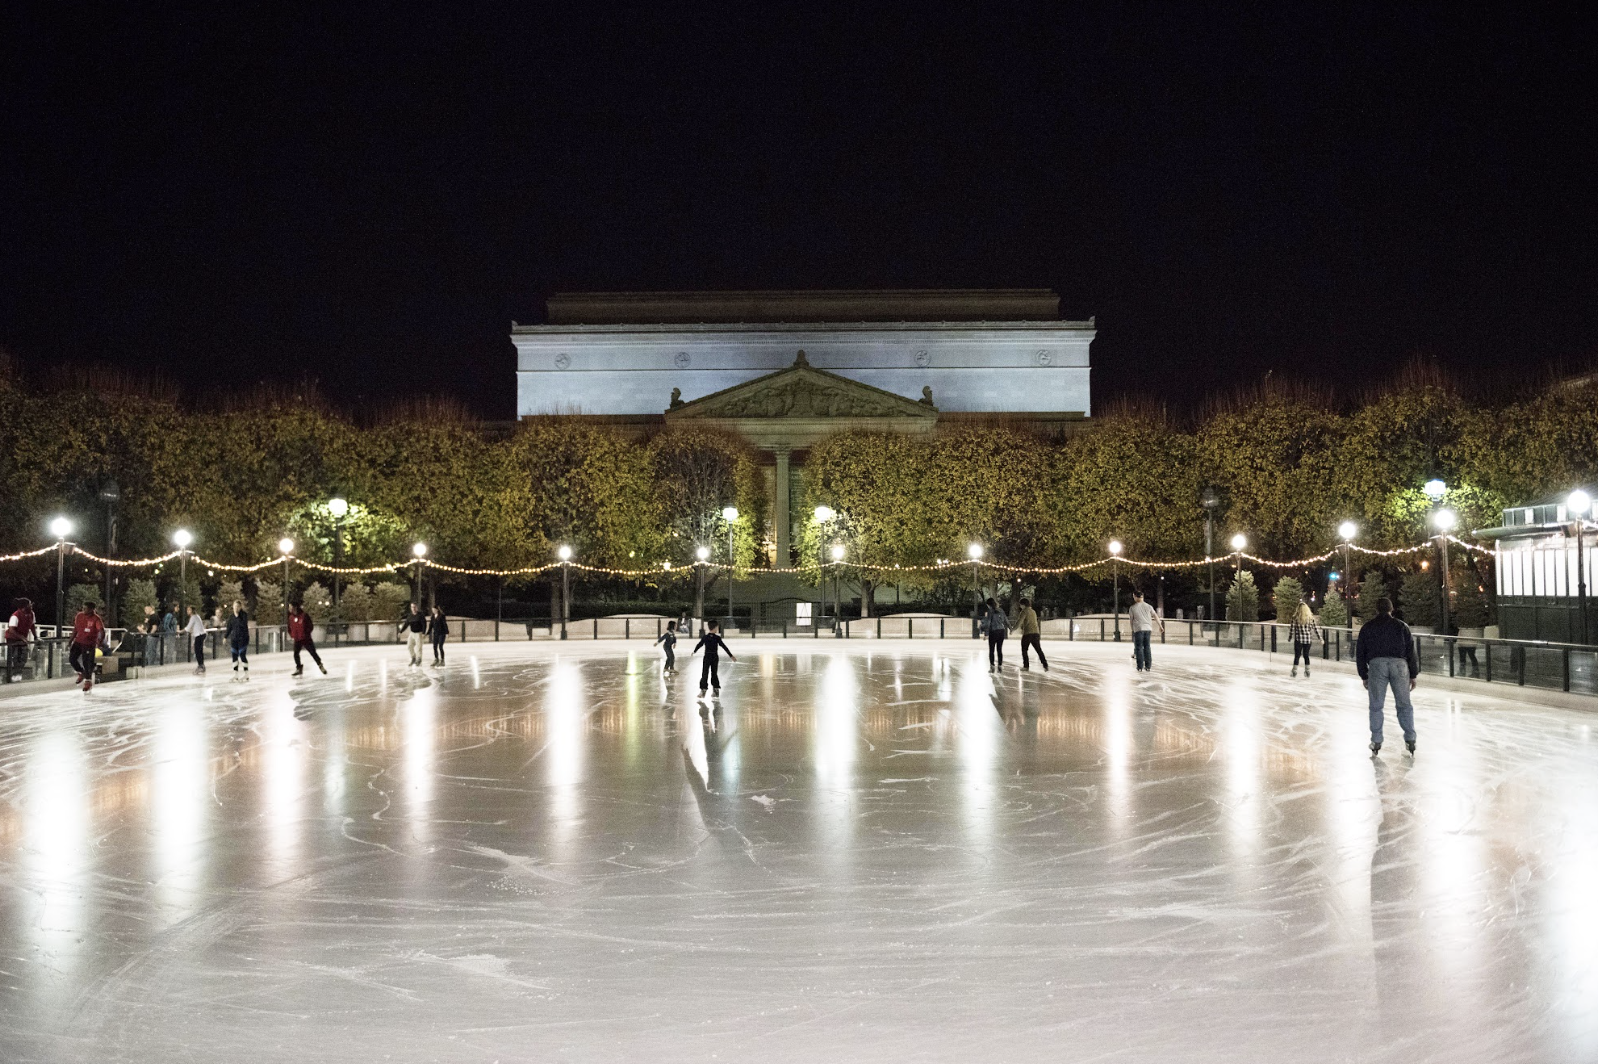
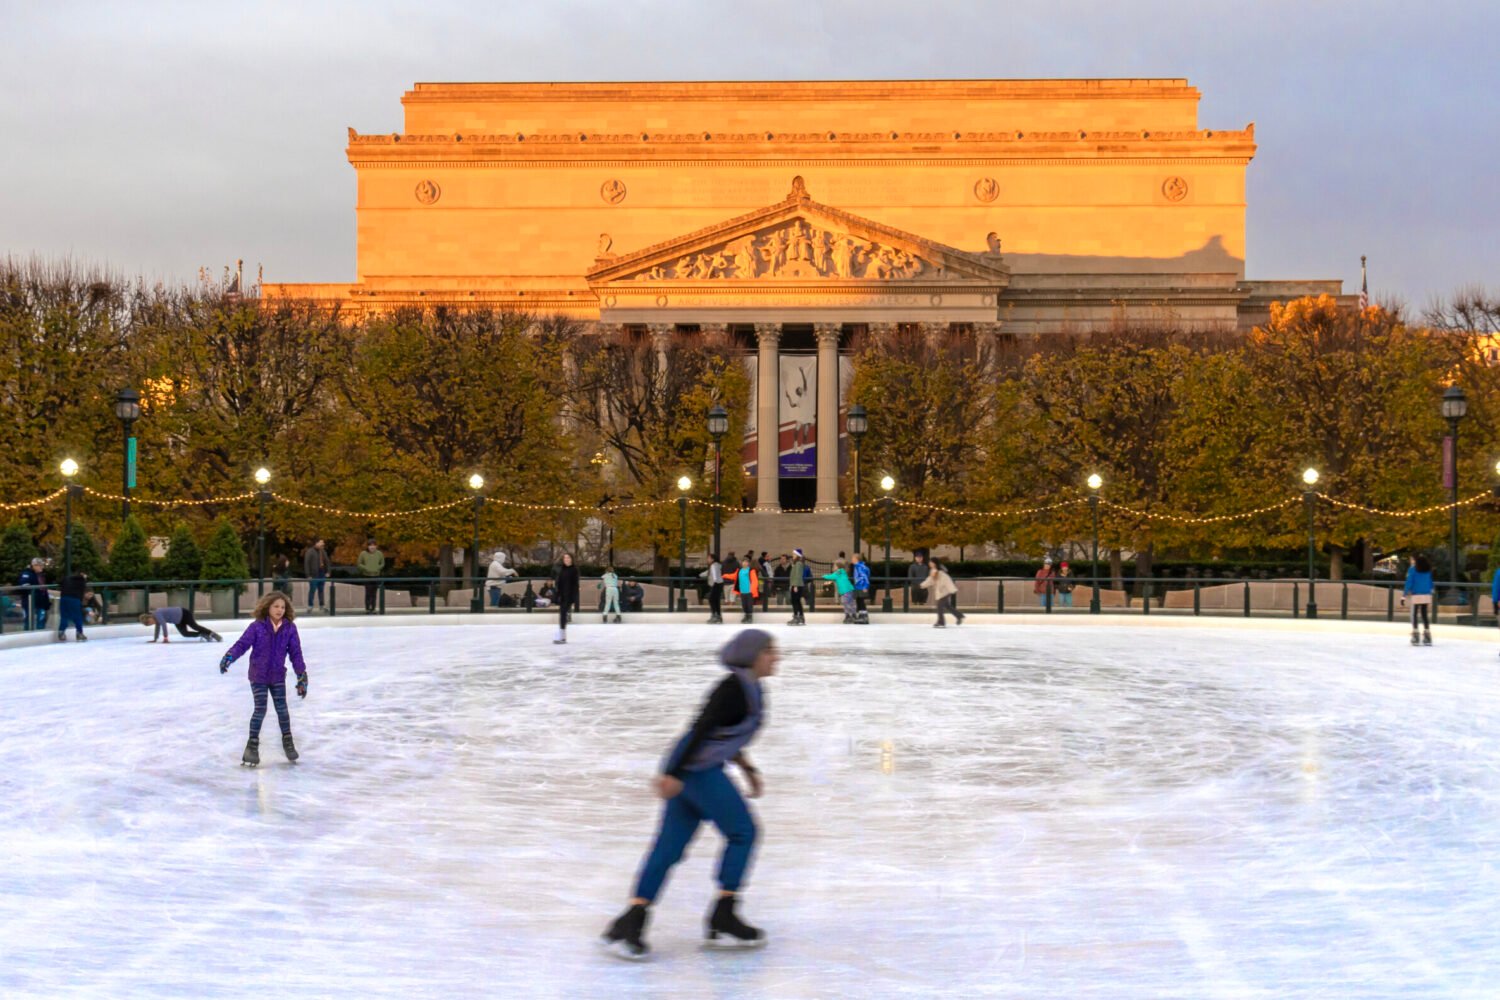
The National Gallery is nearly ready to reopen its outdoor skating rink inside its sculpture garden next week. It needs just one last thing: the ice.
While it might seem like a simple thing to make—just flood the rink and wait for it to freeze—the process is quite a bit more involved than that. “There’s a lot of nuance in it that can really only be learned through experience,” said the rink’s manager and head “ice man,” Alex Binsted, who’s been overseeing the process for the past few years.
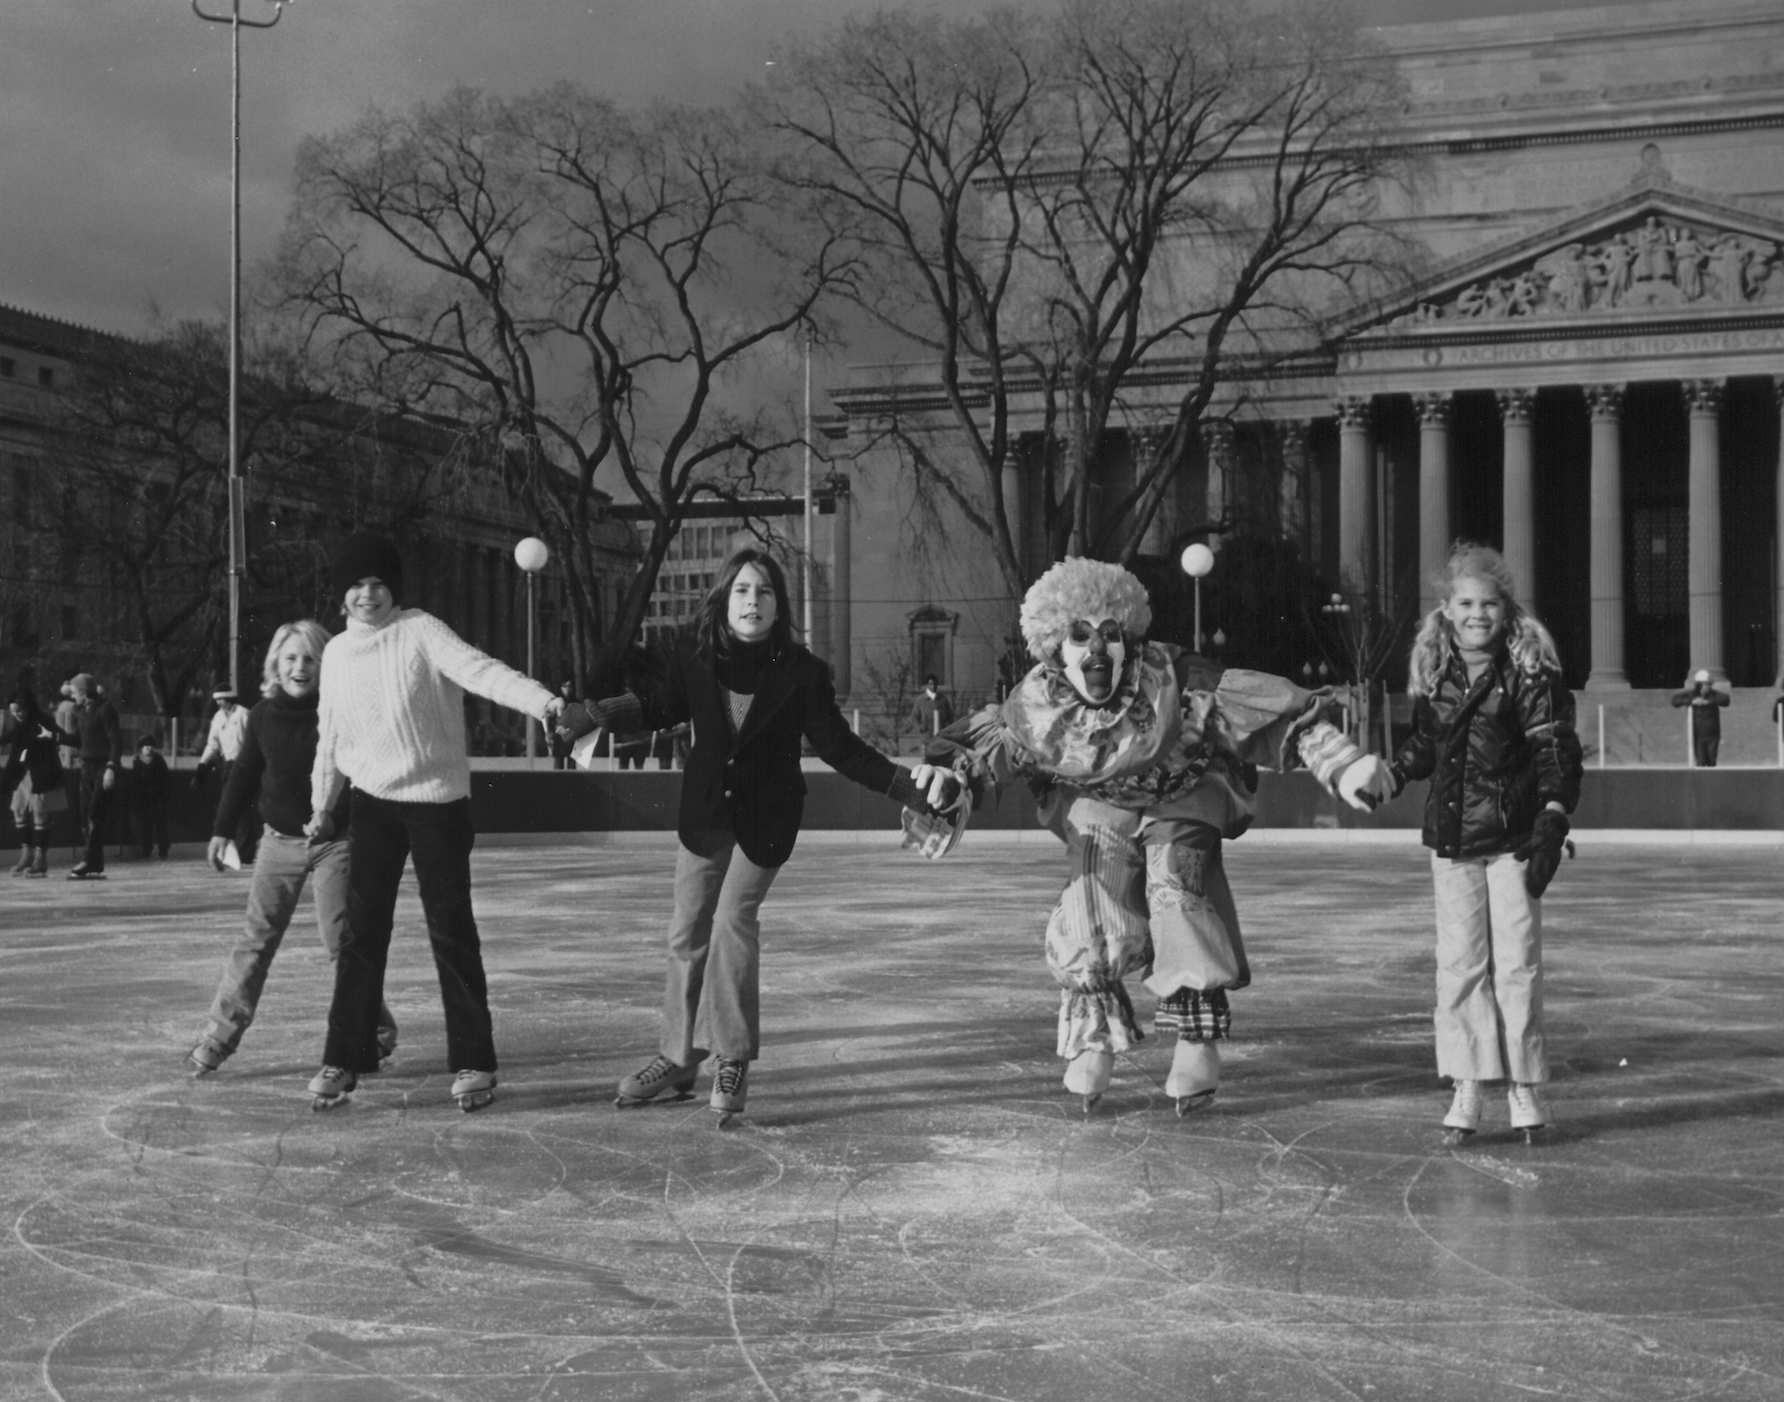
This week, he’ll begin the process once again, working with his team in the overnight hours to build the rink, which has existed in its current form since 1999 when the sculpture garden first opened. However, skaters had been gliding on an older rink at the site since 1974. In the early ’80s, Smithsonian employees even formed their own skate clubs and would take to the ice during breaks. In other words, skating among the museums and monuments is a long-held tradition (as far back as the 19th century, according to the Roy Rosenzweig Center for History and New Media).
Binsted walked us through the process of what’s involved in ensuring the tradition continues. Should all go according to plan, the National Gallery’s picturesque rink will reopen on Monday. But first, here’s how the ice gets made:
1. Drain the garden’s fountain and prep what’s underneath.
You may have wondered how the gallery’s rink has been able to stay open on sunny, 50+ degree days. The secret lays beneath the water fountain. Built into the fountain’s concrete base is a refrigeration unit made up of large pipes that the gallery fills with glycol and keeps cold with Freon refrigerants. Thanks to that system, skaters can safely use the ice in temperatures up to 60 degrees, according to the gallery.
2. Wait for the right weather.
Once the fountain is drained, the pipes filled, and all the other temporary infrastructure built—such as the ice rink’s sheds and lockers—it’s time to wait for a forecast of ice-building weather. That is, little wind, cool temperatures, and no rain or snow. “You really want favorable weather for it,” says Binsted. “Unfortunately, nowadays, November is barely bordering on wintertime, so getting a good week is harder and harder.”
3. Roll out the paper!
The glistening ice isn’t naturally white. Instead, what gives the rink its snowy hue are layers upon layers of thin white paper at its base. Without it, the ice would be a dismal gray, since that’s the color of the concrete foundation beneath it. (FYI, indoor rinks aren’t naturally white either. Their floors are usually painted.) But aside from giving the ice its pretty, wintry sheen, the paper does serve another function: It reflects sunlight off the rink. “The refrigeration system alone isn’t enough to keep a solid sheet of ice that people can skate on,” says Binsted. “We need the white paper to reflect the sun and keep some of the heat off there.”
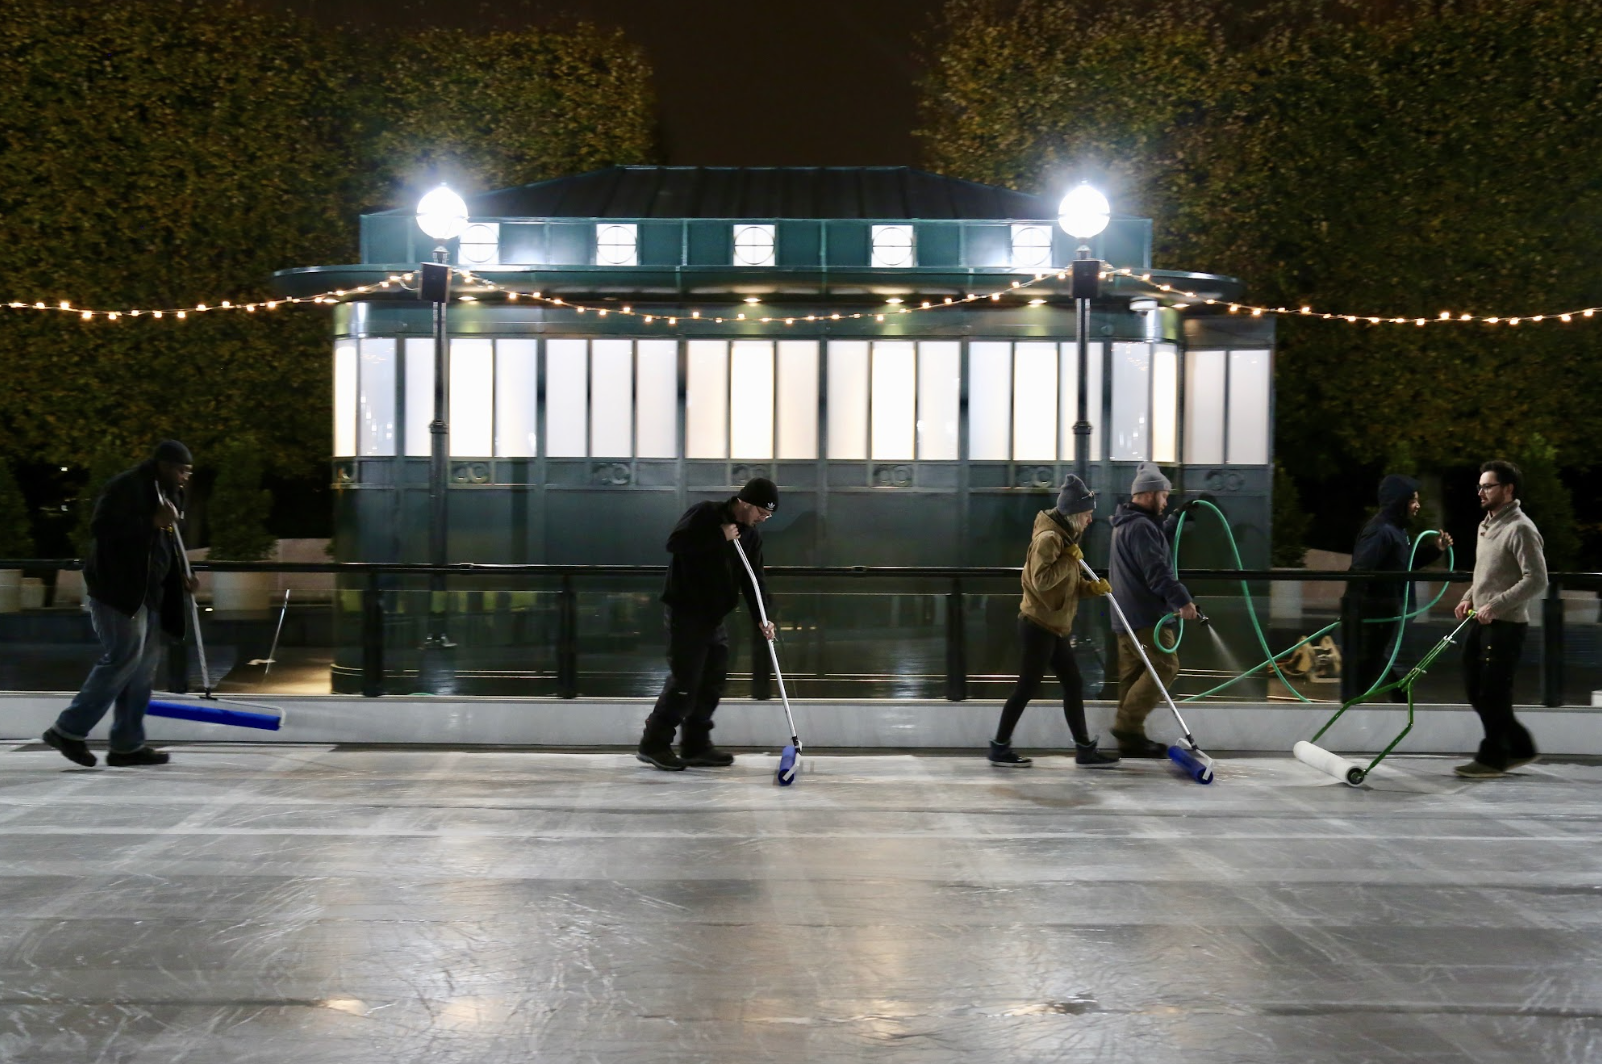
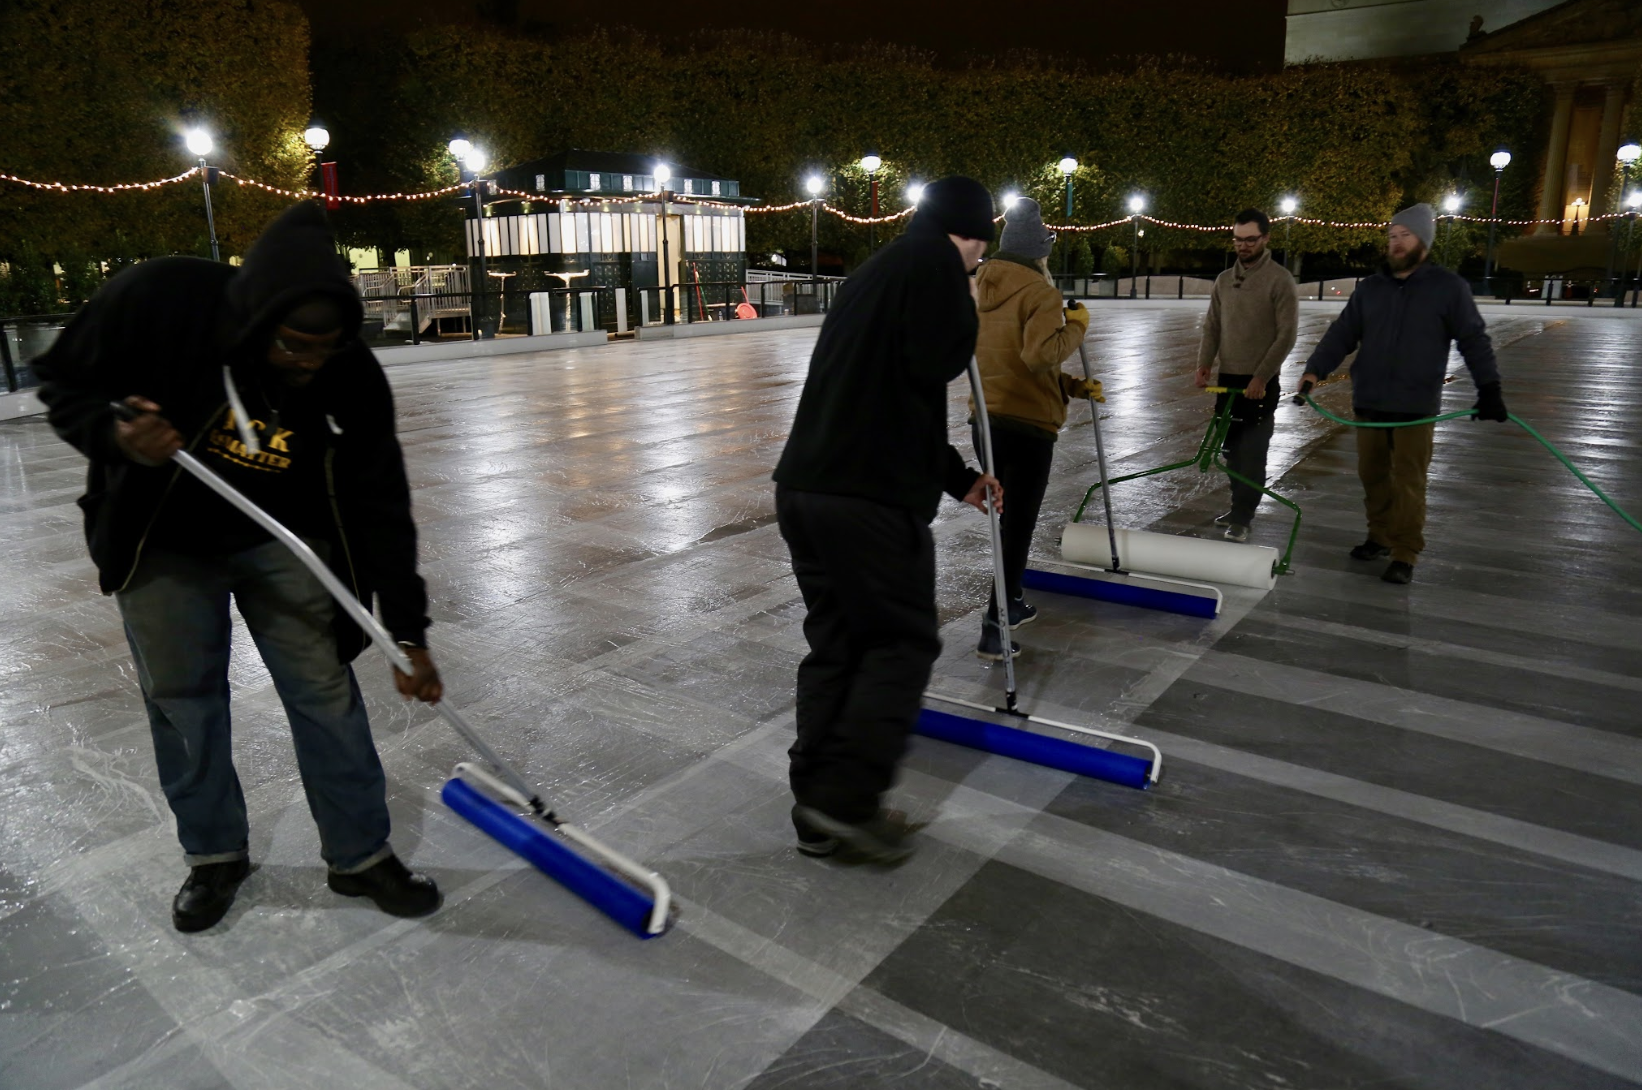
Laying the paper takes multiple people working together at once: someone to unroll the heavy, 40 inch x 1,875 foot rolls of paper (altogether, they use ten rolls); another person to mist water onto the paper, which “glues” it to the ground; several people with foam rollers to squeegee any air bubbles out of each layer; and another person to pick up leaves or other debris that fall onto the rink.
4. Tread very carefully.
For the first few layers of paper and water, Binsted and his team are, quite literally, walking on thin ice. “If you twist the ball your foot or something, that’s a good way to get the paper torn up,” says Binsted. “Whoever does that is instantly heckled—in a nice way, of course.”
Altogether, the process of laying and spraying down the paper, which they do late at night when it’s cooler outside, takes six to eight hours of patient treading. “You got to start with a good base,” said Binsted. “Without that you’re just going to have trouble maintaining good ice throughout the season.”
5. Spray on hot (yes, hot) water.
Once you have a solid base of paper and ice, it’s time to spray on the water. While it might seem counterintuitive, Binsted’s team uses hot water, usually between 140 and 170 degrees, to build the ice (and also when maintaining it via Zamboni throughout the season). That way, the heat from each new layer will melt any ridges and fill in any existing cracks from the previous layer before freezing again. “It forms a more dense sheet of ice because of that,” said Binsted.
Because the Zamboni is too heavy to get on the ice yet, they do this step by hand, patiently following a grid pattern while another person keeps the warm hose moving so it doesn’t melt the ice it’s laying on. Altogether, it usually takes Binsted’s team a minimum of four days to spray on the ice, layer by layer.
6. Find the sweet spot.
The thickness of the ice is pretty critical, says Binsted. Too thin, and it can’t hold a Zamboni. Too thick, and the refrigeration system beneath the rink has to work too hard. “Between our refrigeration system and DC temperatures, we’ve found our sweet spot,” says Binsted. That sweet spot is surprisingly thin—between .75 and 1 inch thick.
7. Sculpt the ice.
Snowy weather doesn’t mean a snow day for Binsted. Because rain and snow can create uneven, pockmarked ice, Binsted’s team must “sculpt” or remove any new layers with the rink’s Zamboni, which can remove only 1/16 of an inch of ice at a time. That means that an inch of rain requires roughly 16 passes on the Zamboni to get the ice back to normal. It also means that during particularly rough snow storms in the past, staff have even stayed overnight to get the ice back in shape for skaters the next day.
Then of course, there’s the daily maintenance of smoothing out the ice. Over the course of an average season, Binsted and his team drive the Zamboni around the ice about 1,300 times, according to the gallery. Because of that, you might just call them the ice sculpturists of the sculpture garden.
